Basics
Introduce
Users can process photos using several configurations to achieve different results.
For example, to add configuration with your custom background, upload your background image and then create configuration to use it.
There are some default configurations in the system - please check out predefined configurations.
Each configuration consist of "processors" - please check processors list to see the available processors with their parameters.
Each configuration can be invoked using its name, e.g.: /v1/process/single/your_configuration_name.
Please see processing for more details on photo processing.
Info
Once a configuration is created or a file is uploaded, it is only available to users in your company.
Processing flow
graph LR
  S[Upload photo] --> P1;
  P1((processor 1)) --> P2
  P2((processor 2)) --> P3
  P3((processor 3)) --> St
  St[Photo ready for download] ;
The results obtained by one processor are consumed by the next one
(sometimes processor requires output from another, for example PlaceShadowProcessor requires
DetectCarShadowProcessor to be called before).
Content
Content is an image to be used in processors. For example, it can be your own background image.
Uploading a background image
/v1/content/upload/{contentName}/{contentType}
contentNameis the name under which you want to save the image. This name will be used to define the configuration.
Use only numbers, uppercase and lowercase letters in the name, without special characters, punctuation marks such as: ą; @; ,; .; #; Ż; ź; ß.contentTypeis the type of file you want to save, to save the background photo use the nameBACKGROUND_SIMPLE. All possible content types:- BACKGROUND_SIMPLE,
- THUMBNAIL,
- POSTER.
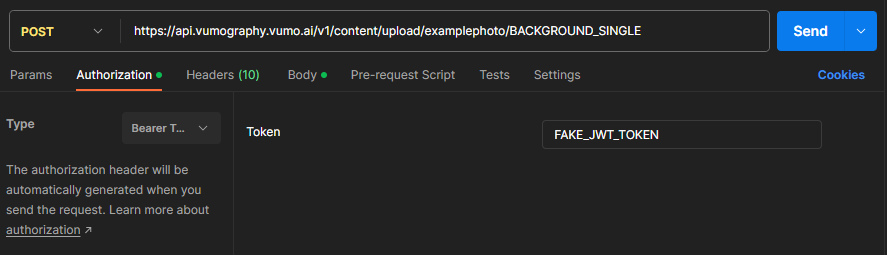
Firstly, you need to upload a photo, which will be used as a background for the processed cars. To do this, you have to send a POST request with the image in the body.
Example Postman

Example Bash
curl --location --request POST 'https://api.vumography.vumo.ai/v1/content/upload/examplephoto/BACKGROUND_SINGLE' \
--header 'Authorization: FAKE_JWT_TOKEN' \
--header 'Content-Type: image/jpeg' \
--data-binary '@/C:/Users/.../examplephoto.jpg'
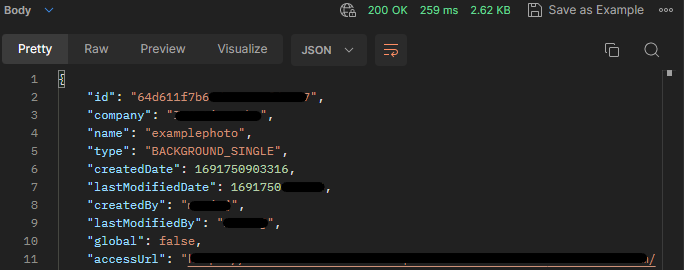
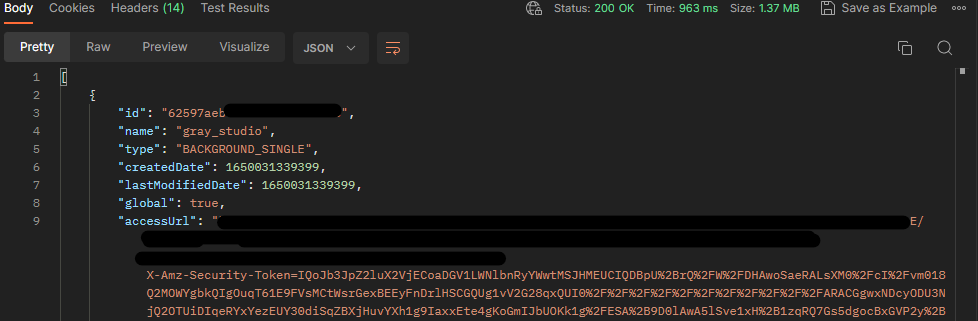
In response
Listing of all uploaded content
/v1/content/
- No parameters.
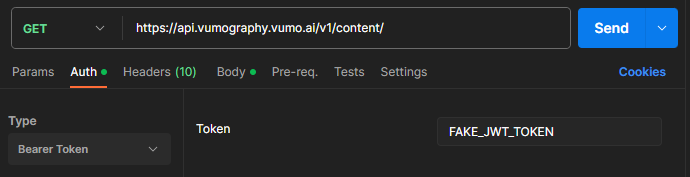
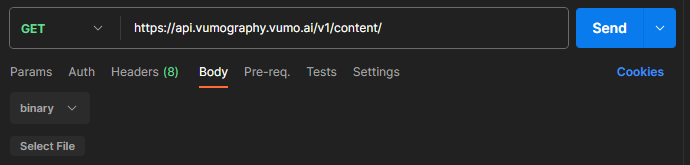
Use this section if you want to check what images have been uploaded. To do this, you have to send a GET request with the image in the body.
Example Postman
Example Bash
curl --location --request GET 'https://api.vumography.vumo.ai/v1/content/' \
--header 'Authorization: FAKE_JWT_TOKEN'
In response
Configurations
List of all available configurations
/v1/configuration/
- No parameters.
It is used to retrieve current configurations from the server.
curl --location --request GET 'https://api.vumography.vumo.ai/v1/configuration/' \
--header 'Authorization: Fake_BEARER_TOKEN'
Example of return
{
    "company": "company",
    "name": "name",
    "configurationType": "EXTERIOR",
    "configurations": [
        {
            "processorName": "DetectCarMaskProcessor",
            "carDetectionThreshold": 0.0,
            "carCropThreshold": 0.0
        },
        {
            "processorName": "CleanBackgroundProcessor",
            "enableShadow": false,
            "color": "#FFFFFF"
        }
    ],
    "cost": 60,
    "createdDate": 1689072089280,
    "lastModifiedDate": 1691749631390,
    "createdBy": "user",
    "lastModifiedBy": "user",
    "uiConfiguration": {
        "thumbnail": "example-configuration",
        "nameDescriptions": {
            "pl": {
                "name": "example",
                "description": "This is example configuration."
            }
        },
        "thumbnailFullPath": "FULLPATH:company/content/THUMBNAIL/test-configuration/example-configuration_thumbnail.jpg@carscanner-rb-eternal-prod"
    }
}
Creating or editing configuration
/v1/configuration/{configurationName}
- configurationName - the name of the configuration you want to create or edit.
Configuration names are case-sensitive. Use only numbers, uppercase and lowercase letters in names,
without special characters, punctuation marks such as: ą; @; ,; .; #; Ż; ź; ß. your configuration cannot start with
default_andfree_.
After uploading the background to the API, you can use this background to process images.
To do this, you need to make a configuration.
In the configuration you define which processors should be used when processing the photo.
The first processor used must always be DetectCarMaskProcessor which is used to cut the background from the photo.
Then you can use the other processors that are responsible for further processing steps.
In the following example, the AddBackgroundAndCropProcessor is used.
It allows to add a custom background to the photo and set the car position and margins.
Next two processors are responsible for adding car's shadow to the photo.
A detailed description of the parameters can be found in the processors list tab.
Editing the configuration is done by overwriting the previous one with the same configurationName.
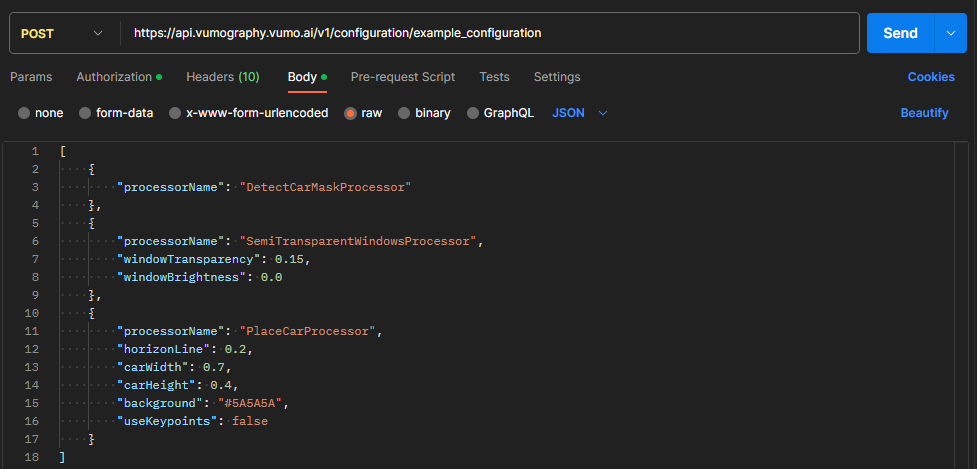
https://api.vumography.vumo.ai/v1/configuration/{configurationName}
[
    {
        "processorName": "DetectCarMaskProcessor"
    },
    {
        "processorName": "SemiTransparentWindowsProcessor",
        "windowTransparency": 0.15,
        "windowBrightness": 0.0
    },
    {
        "processorName": "PlaceCarProcessor",
        "horizonLine": 0.2,
        "carWidth": 0.7,
        "carHeight": 0.4,
        "background": "#5A5A5A",
        "useKeypoints": false
    }
]
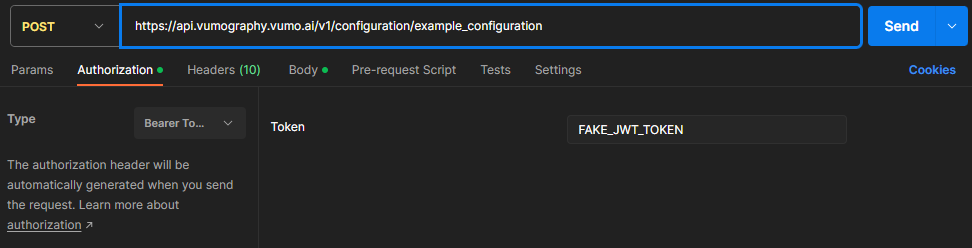
To create or edit configuration, you have to send POST request with the image in the body.
Example Postman
Example Bash
curl --location 'https://api.vumography.vumo.ai/v1/configuration/example_configuration' \
--header 'Content-Type: application/json' \
--header 'Authorization: Bearer FAKE_JWT_TOKEN' \
--data '[
    {
        "processorName": "DetectCarMaskProcessor"
    },
    {
        "processorName": "SemiTransparentWindowsProcessor",
        "windowTransparency": 0.15,
        "windowBrightness": 0.0
    },
    {
        "processorName": "PlaceCarProcessor",
        "horizonLine": 0.2,
        "carWidth": 0.7,
        "carHeight": 0.4,
        "background": "#5A5A5A",
        "useKeypoints": false
    }
]

'
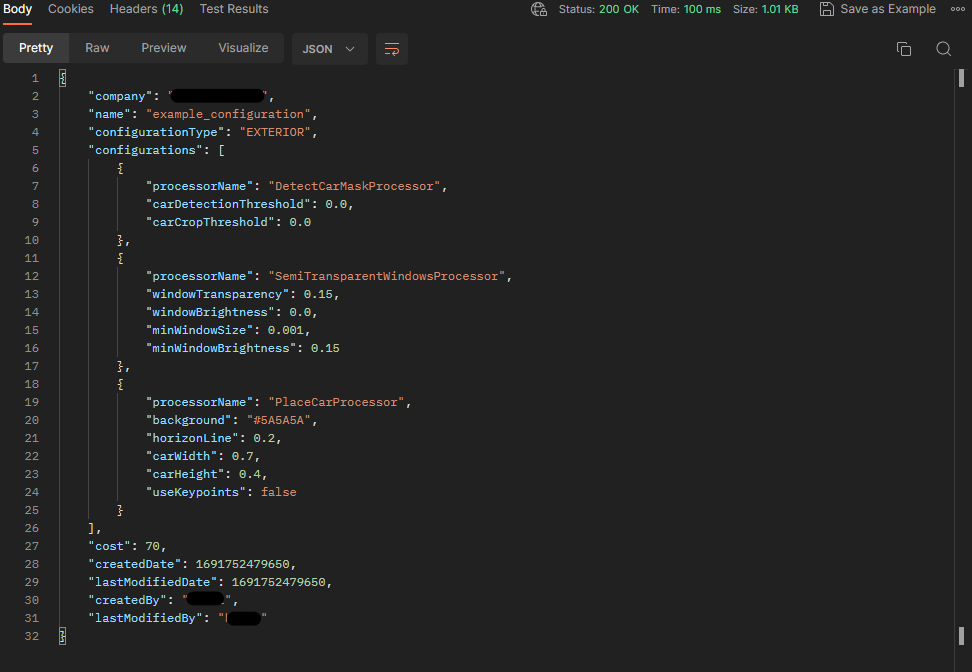
In response
Additional information
for additional documentation please check:
configuration
content